Wondering how to use a hair straightener to curl your hair? You’ve come to the right place!
We covered how to deep condition hair in our last post. If you haven’t had the chance to check that out, feel free to give it a quick read!
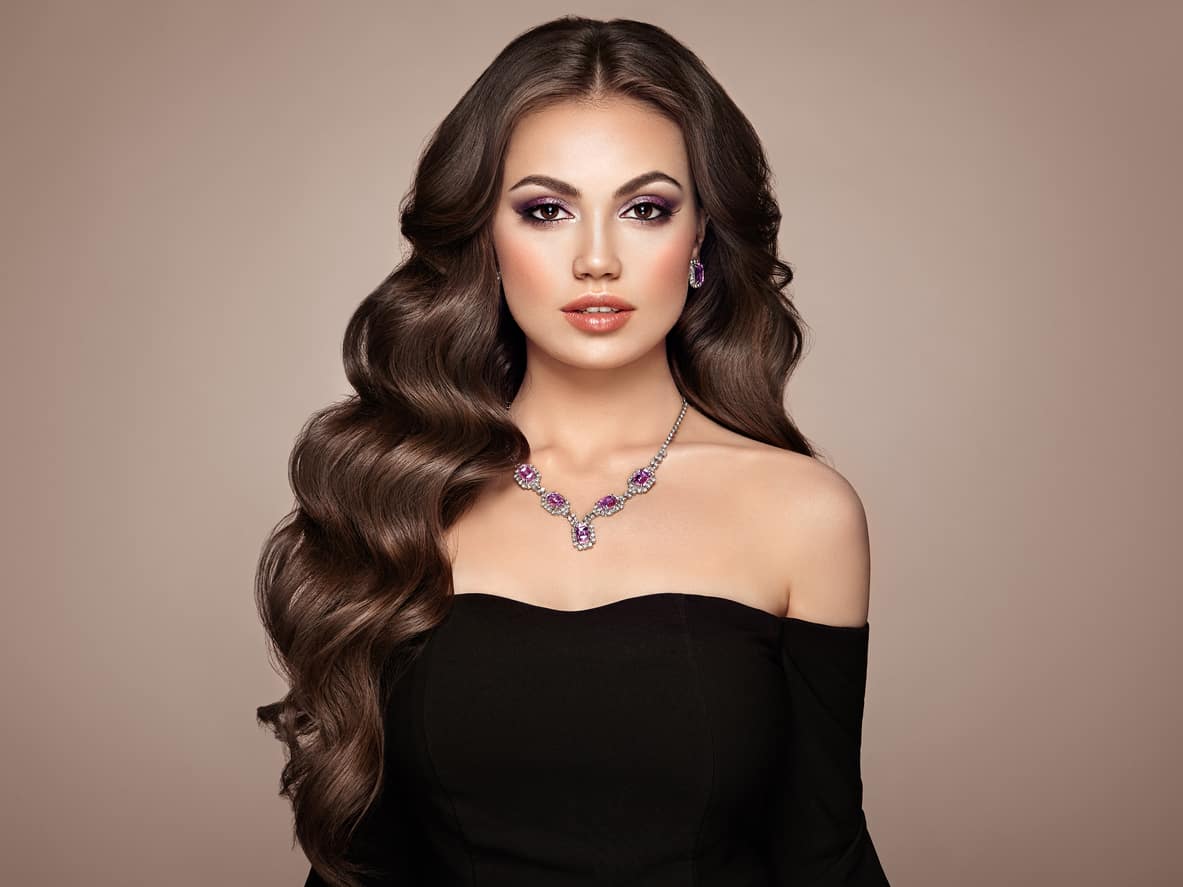
Curling your hair with a straightener is an excellent way to achieve that perfect, voluminous curls look without the hassle of using overly hot tools. While some might believe their curling iron is good enough, if it’s too hot, you have a good chance of damaging the hair shaft.
But we’ll talk about that a bit later on.
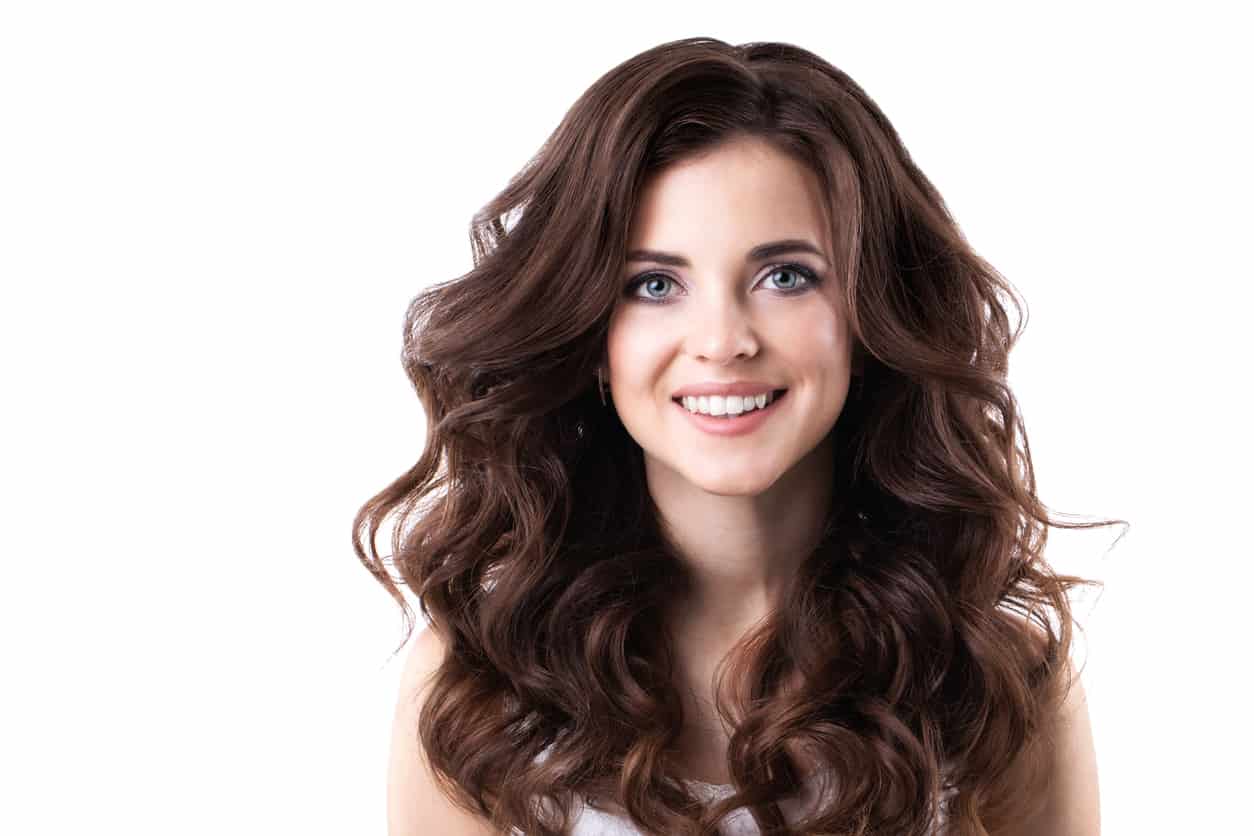
Whether you want to flat iron curls or are wondering if a curling iron is right for you, you’ll learn the ins and outs of curling hair here and now with Malina. Get ready for perfectly bouncy curls and beachy waves!
What You’ll Need to Curl Your Hair with a Flat Iron
Hair straightener or flat iron
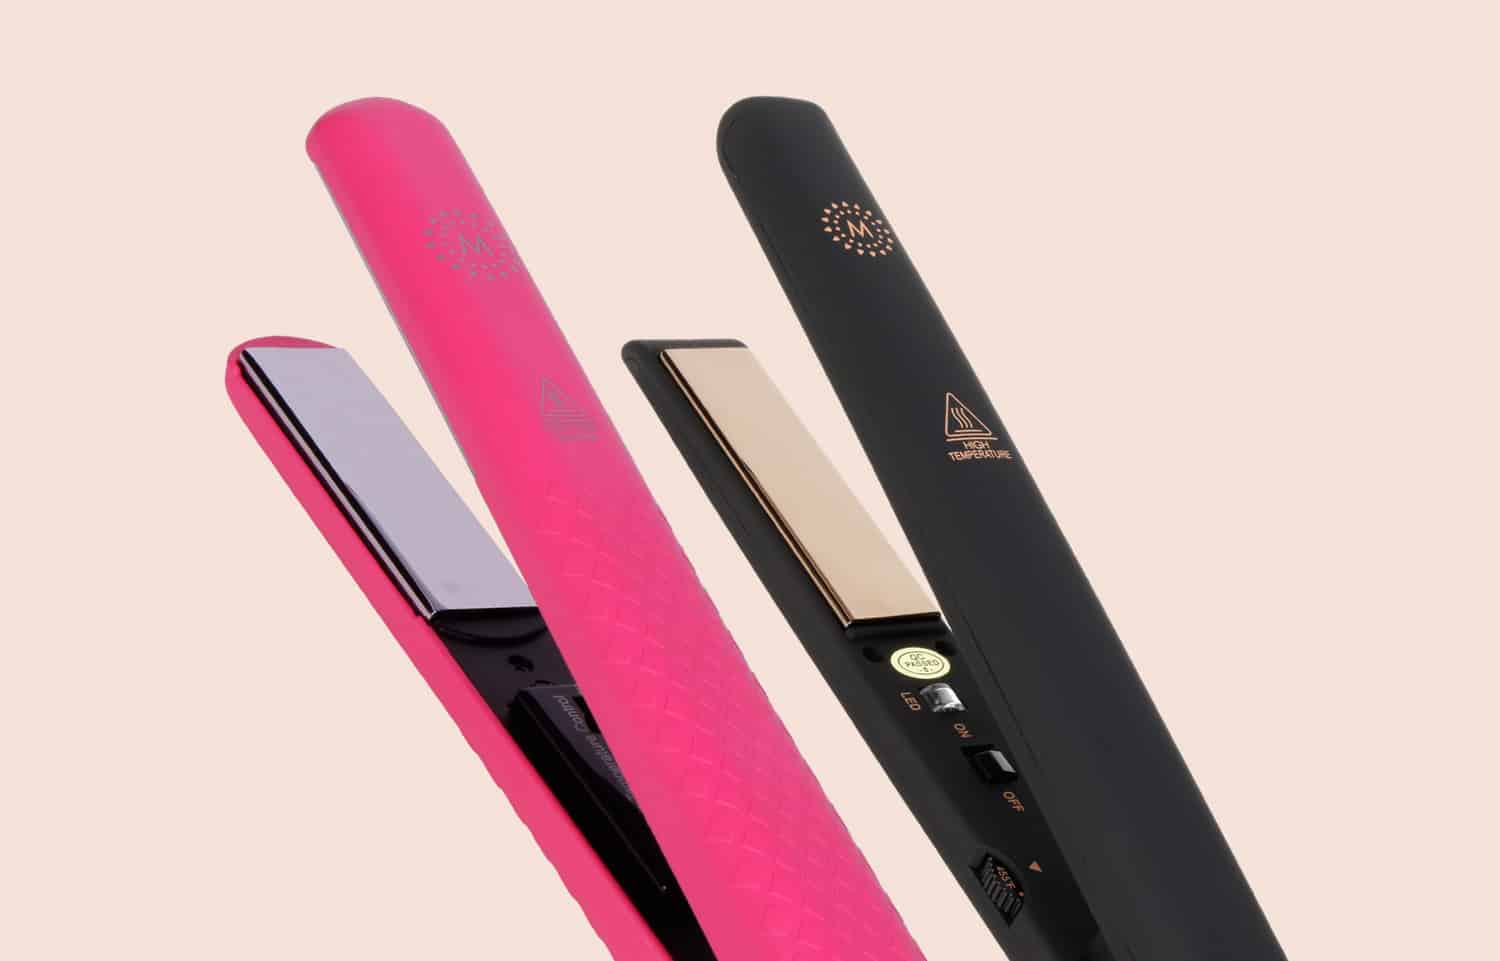
Choose a high-quality flat iron or hair straightener. We recommend titanium flat irons because these offer even heat distribution. The plates should be either one or two inches wide.
A thin flat iron that’s one to two inches in width is the perfect size for creating curls. It can also be beneficial to look for a flat iron with rounded ends as these tend to make curling hair a little bit easier.
Curling irons are specifically made to curl. But getting the same hairstyle with a flat iron is easy and doesn’t require a second tool to curl your hair. Flat iron curls are just as beautiful as curls made with a curling iron!
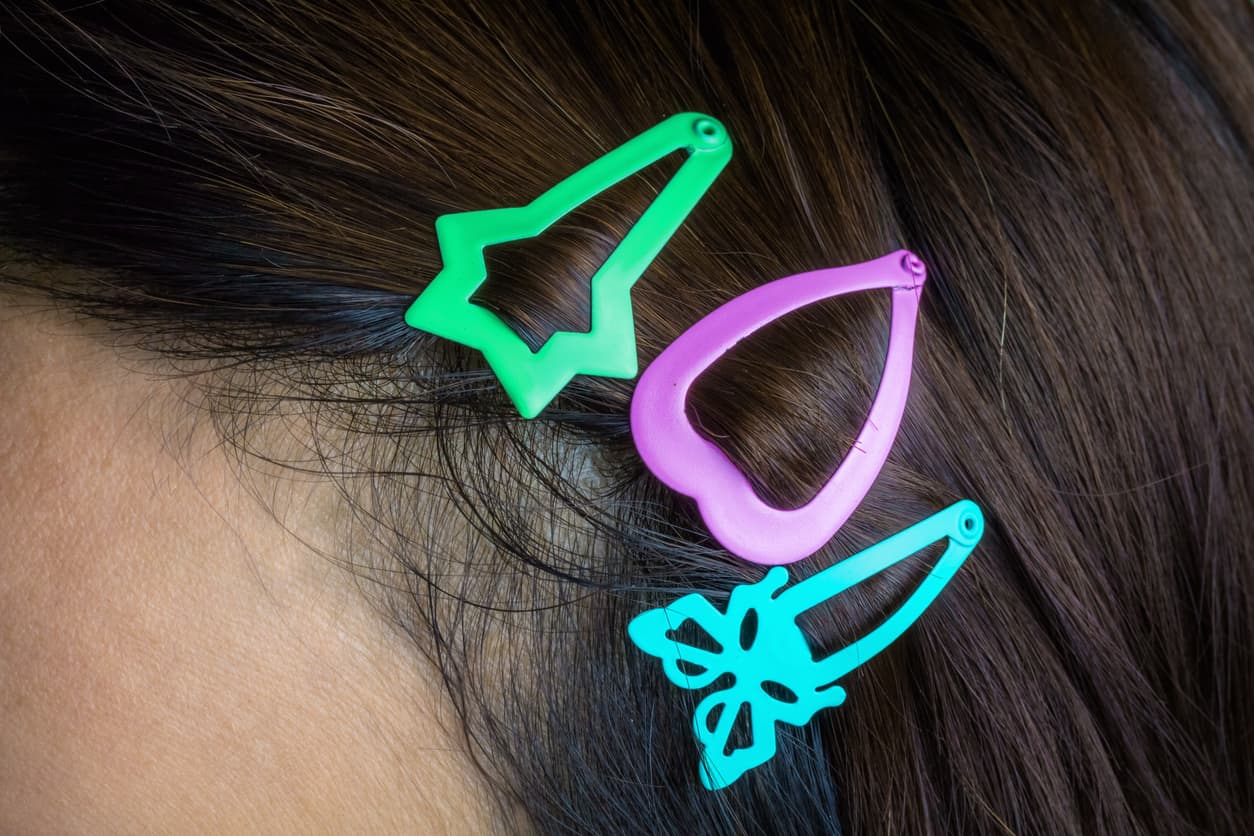
Hair clips or hair bands.
Hair clips or hair bands are essential for helping to secure your curls while they cool down and set. Alligator clips or barrettes work great for this!
As you create curls or beach waves, you’ll need to these clips and bands to secure your hair. Each time you curl hair, you’ll move it away from the uncurled segments. As you pass through all of it, you’ll have beautiful curls sleek and stunning!
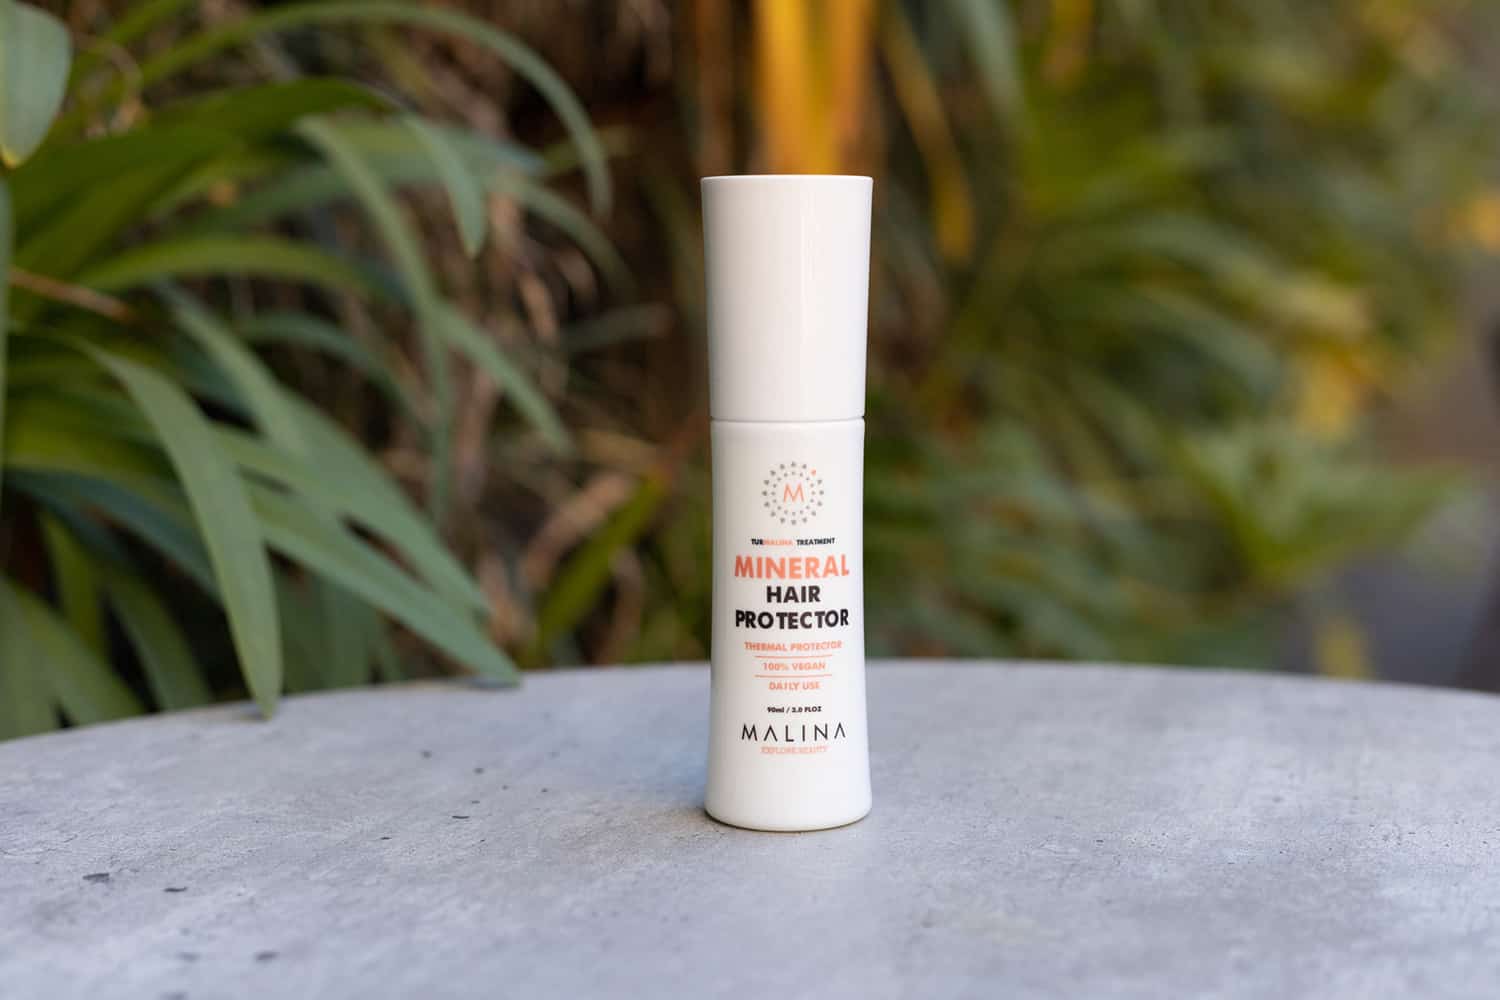
Heat protectant spray.
It’s always a good idea to use a heat protectant when using a flat iron. This will help to shield any of the strands that you might have gone over from getting too much heat exposure.
While some believe straightening wet or damp hair will keep it protected from the heat of a flat iron curl, flat iron curls need some additional protection to keep the hair healthy and protected!
The Steps to Curl Your Hair with a Straightening Iron:
Step 1: Prepping Your Hair
- First off, make sure your hair is clean and completely dry before you start curling your hair with a hair straightener or a flat iron. You want to work dry hair that’s clean as you curl your hair. Dirty damp hair also won’t hold its shape very well, so make sure you washed your hair in the last 24 hours before curling your hair. Wet hair will also have too much hold, so it’s best to wait until your hair is dry before you start curling it with a flat iron.
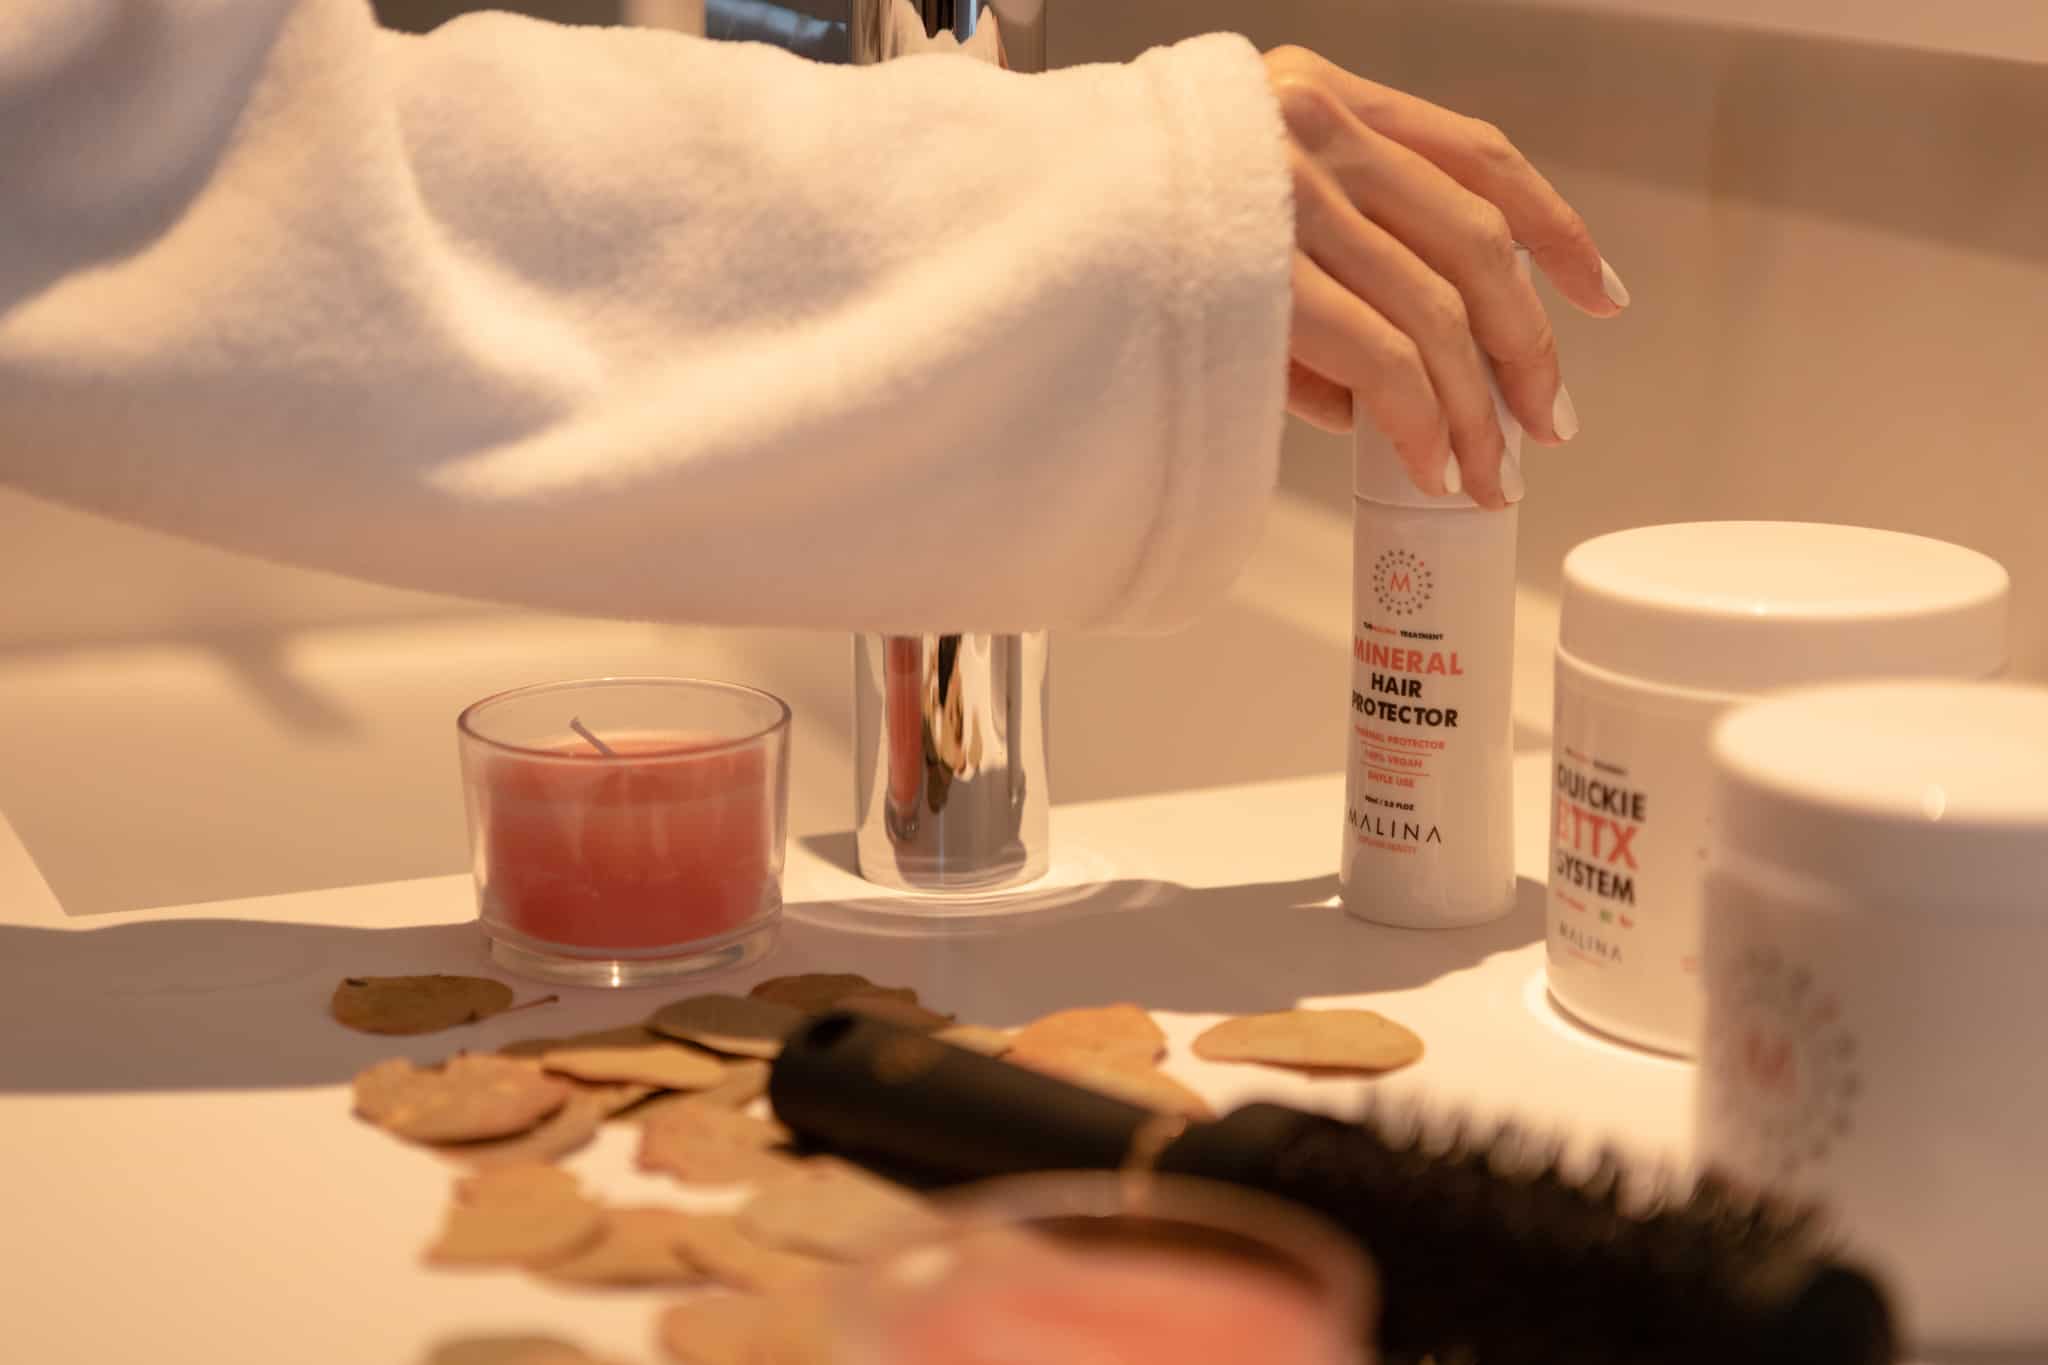
- Then, apply some heat protectant to your hair through the roots and throughout the length of your tresses for extra protection from the flat iron before coming in contact with it. How much product depends on hair types. If you have thick hair, you’ll likely need a little more product. But keep in mind that more doesn’t always mean better!
- Make sure to spray more than just the ends of your hair with a heat protectant. Flat irons get hot! Only coating the top layers leaves your hair open to damage from the heat of the flat iron.
- You should always try to spray each section before you curl it, especially if you have thick hair. As you curl hair with a flat iron, you should be alternating directions as you gently pull the iron vertically. But you’ll still need this thermal spray throughout the process for perfect curls on your entire head.
- Always use a comb to work out any tangles before you start curling hair with a flat iron. This will prevent hair from getting caught in the bristles of your brush or not being able to curl all the way around because hair inside the hair isn’t accessible to the flat iron. A bird’s nest will not allow enough heat to permeate through for an effective straightening job!
- Then, part your hair into sections and divide each section into smaller pieces. To part your hair, you’ll want to use your fingers, a comb, or hair clips. Sectioning your hair will help to make the curling process a little bit easier.
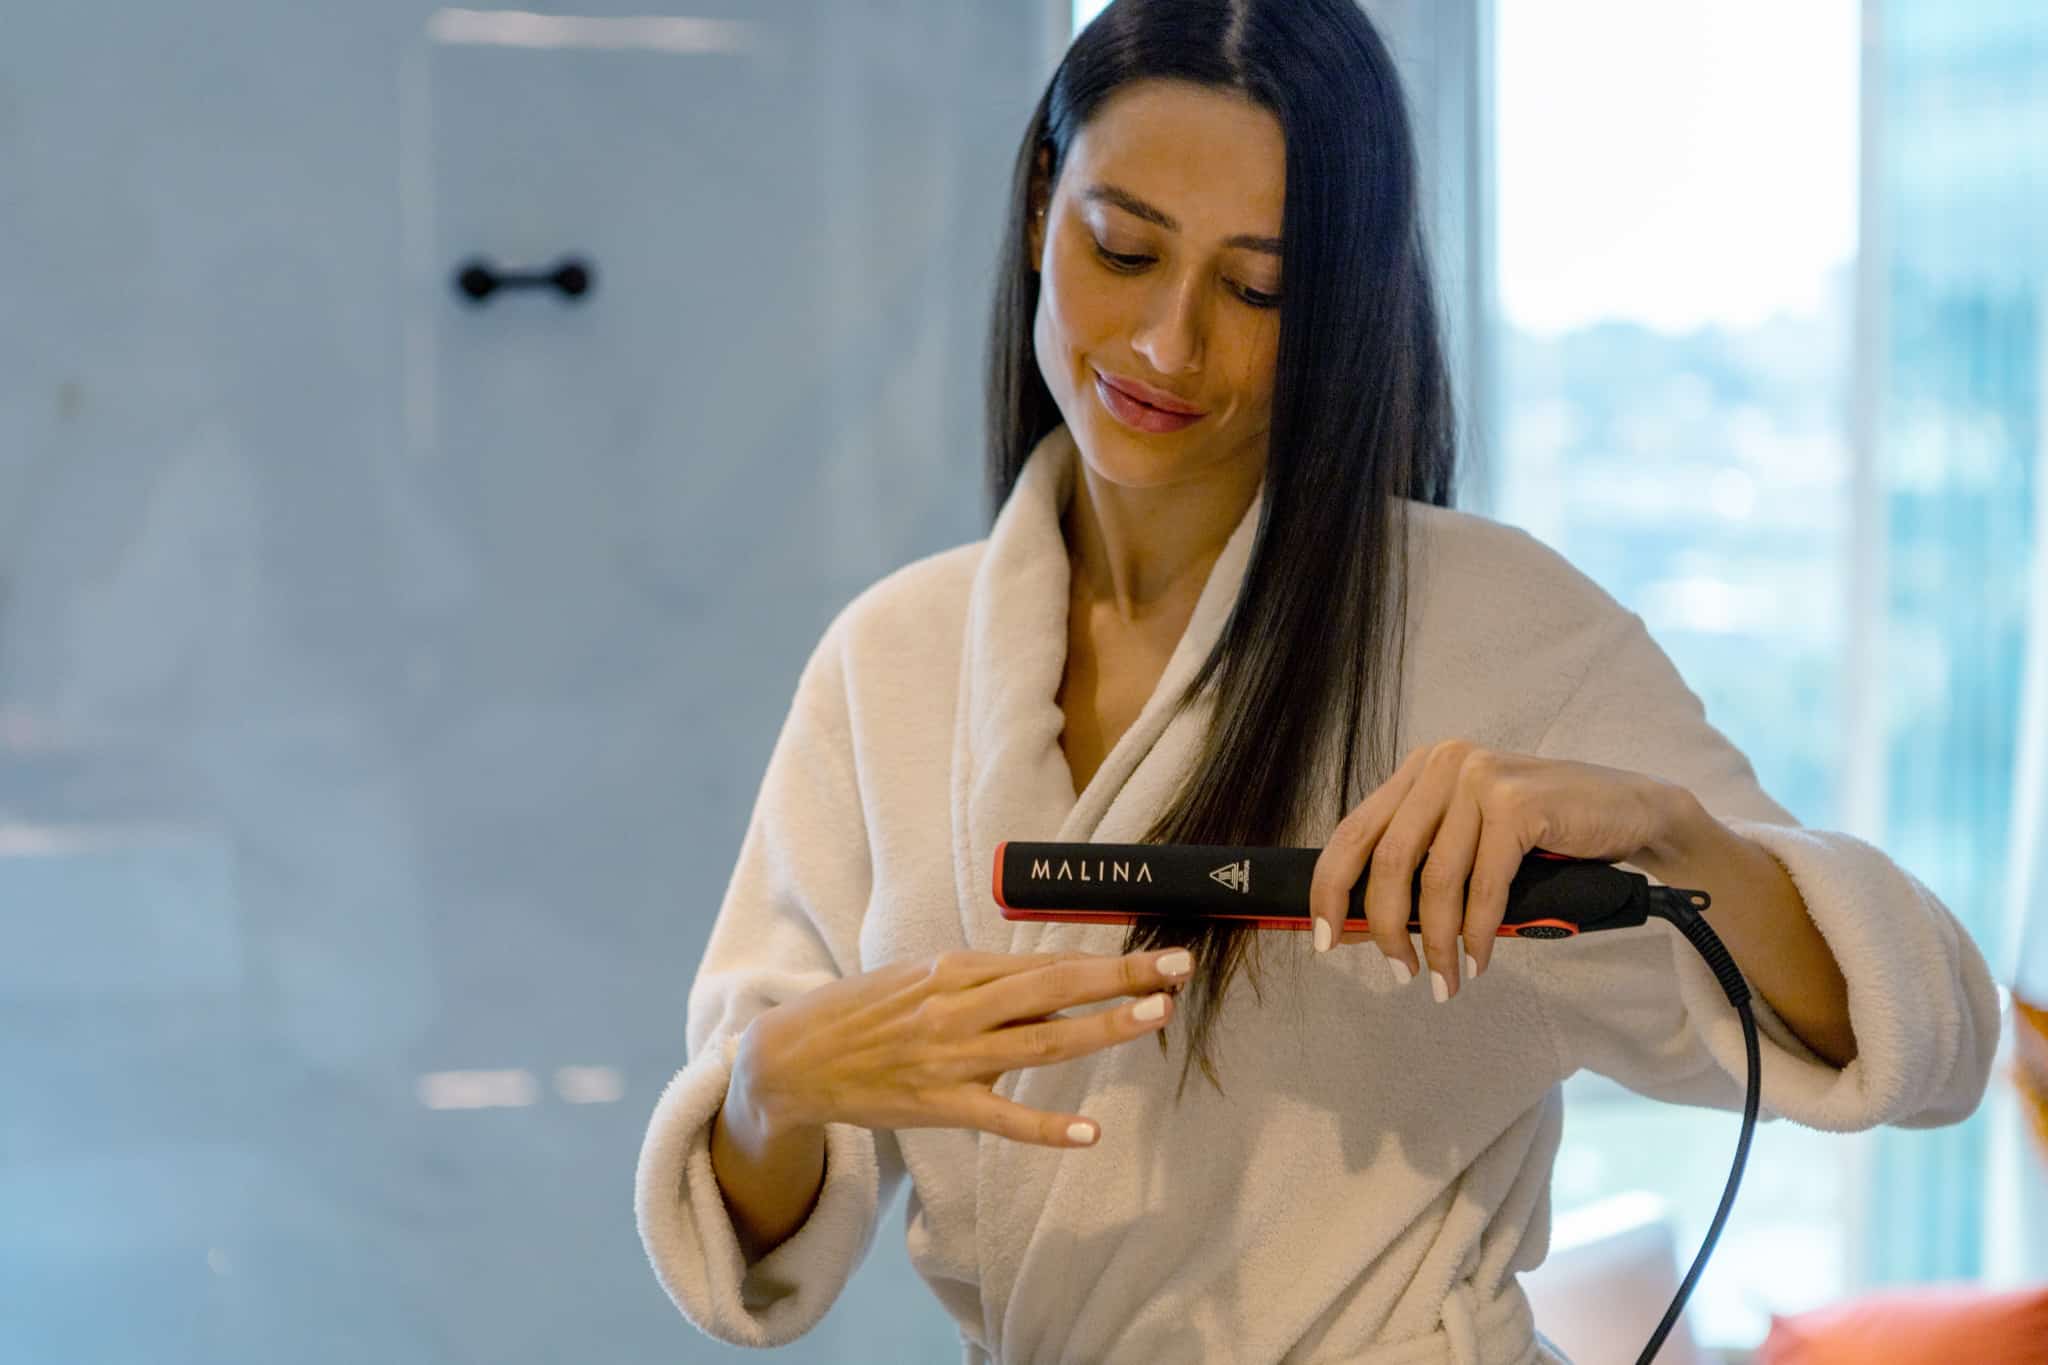
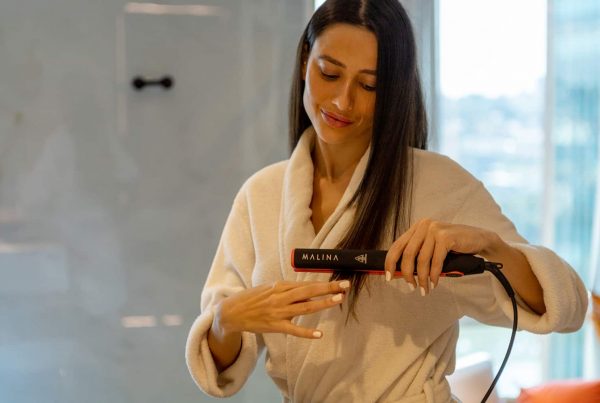
Step 2: Curling Your Hair With a Straightener
Start curling from the nape of the neck and work your way towards the top of your head with your flat iron.
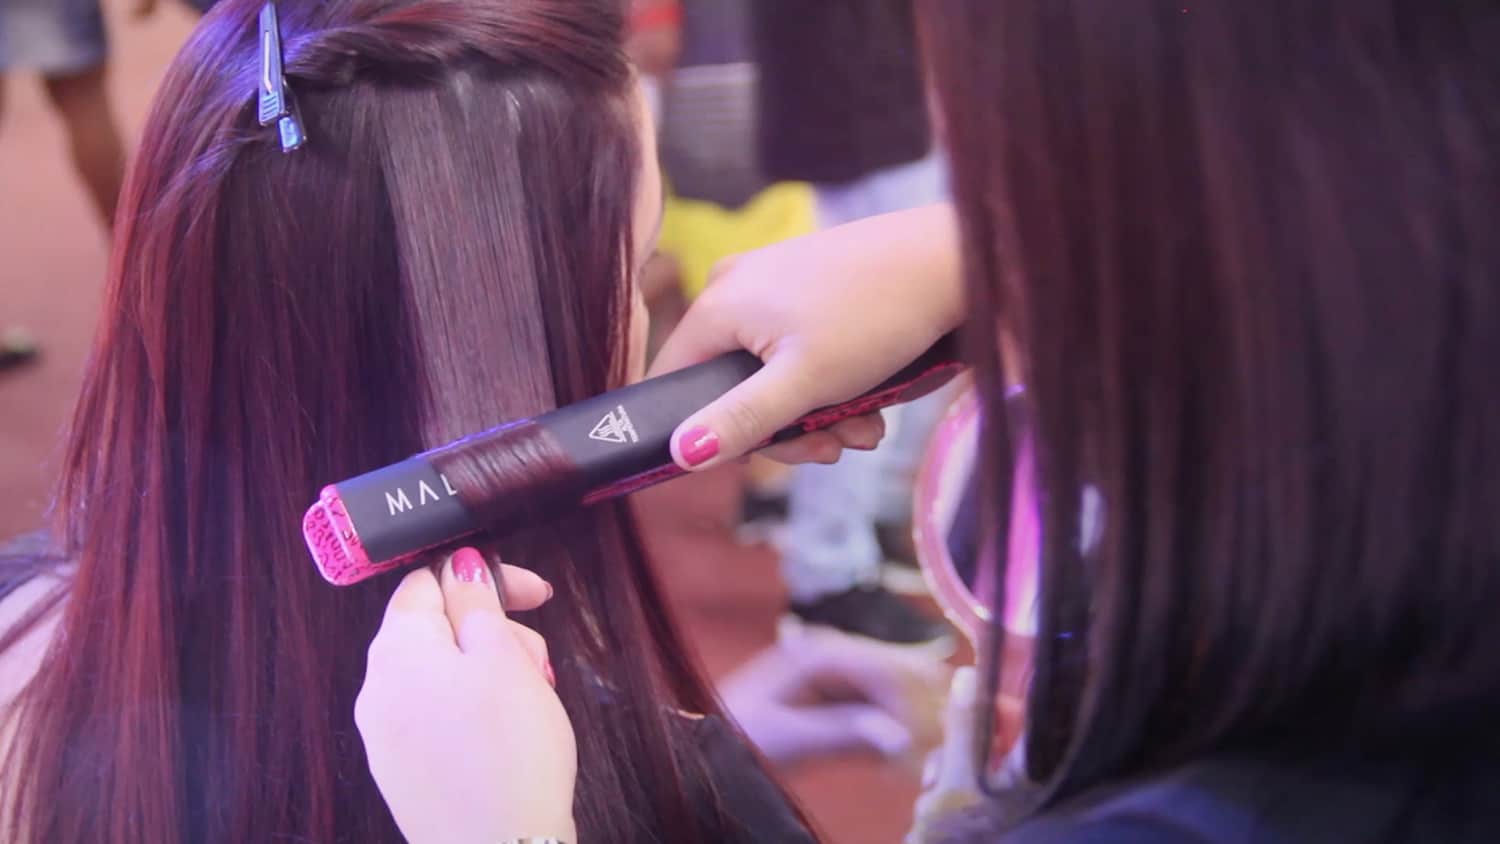
Hold your hair with one hand and brush through it gently from roots to ends, then take two sections of hair on either side and wrap them around the straightener in opposite directions – this ensures that each strand is curled evenly!
To create the curl, you need to make sure the hair continues to wrap around the flat iron’s barrel as you push the iron toward your ends. It’s basically, like, the same technique you’d curl a ribbon with a scissor.
You’ll make a half turn with the flat iron, then move your arm in the same direction you’d like the curl to go. And also a quick reminder: The smaller the section you curl with a flat iron, the curlier your hair will be. So if you want to switch it up and go for some super tight curls, part a section that’s less than 1 inch.
Release your hand so you’re holding onto just a few strands at the top while letting gravity do its work. As soon as they cool enough, clip or pin up any stray pieces before moving on to another section. This will ensure you don’t flat iron sections you’ve already perfected.
If you have shorter hair or want more defined curls, use bigger barrels than what was recommended above. It might take a little practice to twist curls on short smooth hair, but practice makes perfect!
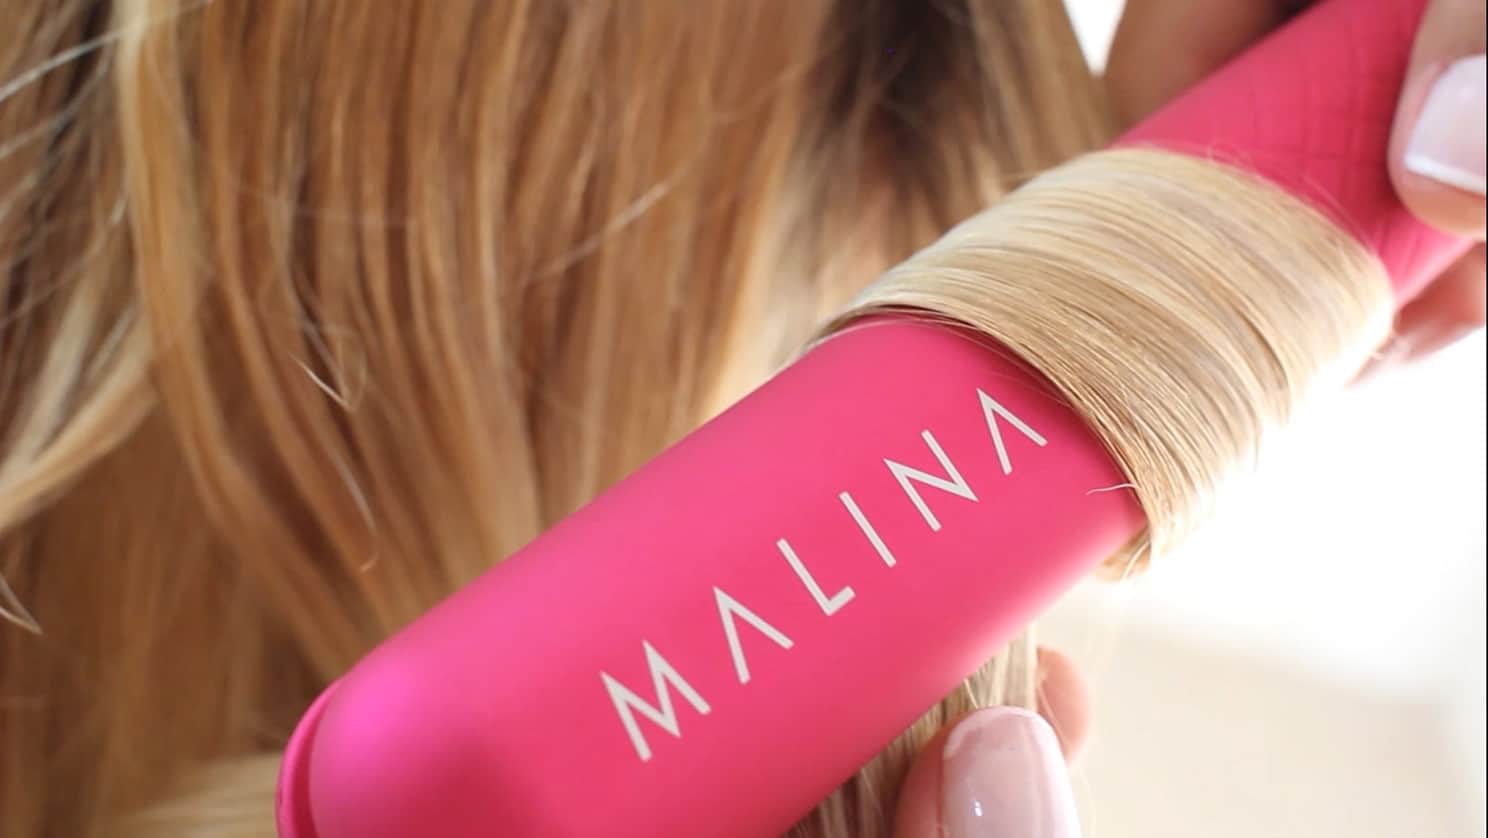
For tighter curls and more volume, rotate the flat iron 360 degrees. Your hair should be fully wrapped around. Additionally, the more horizontal you hold the flat iron, the tighter the curl.
Finally, the faster you pull through the hair, the looser the curl, so go slow for a tighter result.
Getting curly hair with a flat iron doesn’t always mean tight curls. Sometimes, it involves loose yet luscious curled hair with a flat iron tool.
Repeat your chosen technique on each one-inch section until you’re done!
You might feel like you have too much hair and it will take forever – luscious curls take more than a few seconds. But the results are worth the effort!
Some people like to use a hair spray once their curls are complete. However, most of the time, these sprays are full of harsh chemicals.
Try a little bit of Beeswax pomade to hold your curls in place. You can then run your fingers through, use a wide-toothed comb, or even brush it depending on the look you want. Doing this will make your hair look more natural.
How to Curl Your Hair with a Straightener Using Different Techniques
Looking for new techniques to give your head of hair some incredible style?
Waves are becoming increasingly popular! Here’s how to do it:
Slide Waves with a Flat Iron
Whether you’re looking for a casual I-just-woke-up-like-this style or a more polished bend, this method delivers! Start by using 1-inch sections of hair, and beginning a few inches away from your scalp (try to smooth the root with your iron first), clamp your iron and, as you slide it down the length of hair, pull it through to create a flipped curl – without a curling iron!
Flat Waves without a Curling Iron
To create flat waves, here’s what you’ll do:
- You’ll need to drop one-inch sections of hair into your flat iron to create your first bend. One at a time, of course!
- Form the section into an “S” shape and clamp where it curves. You’ll repeat this to the end of the segment.
- Repeat this process to have flat waves picture-ready!
As you can see, this is super easy and takes only a few moments. And there’s no blow drying involved whatsoever!
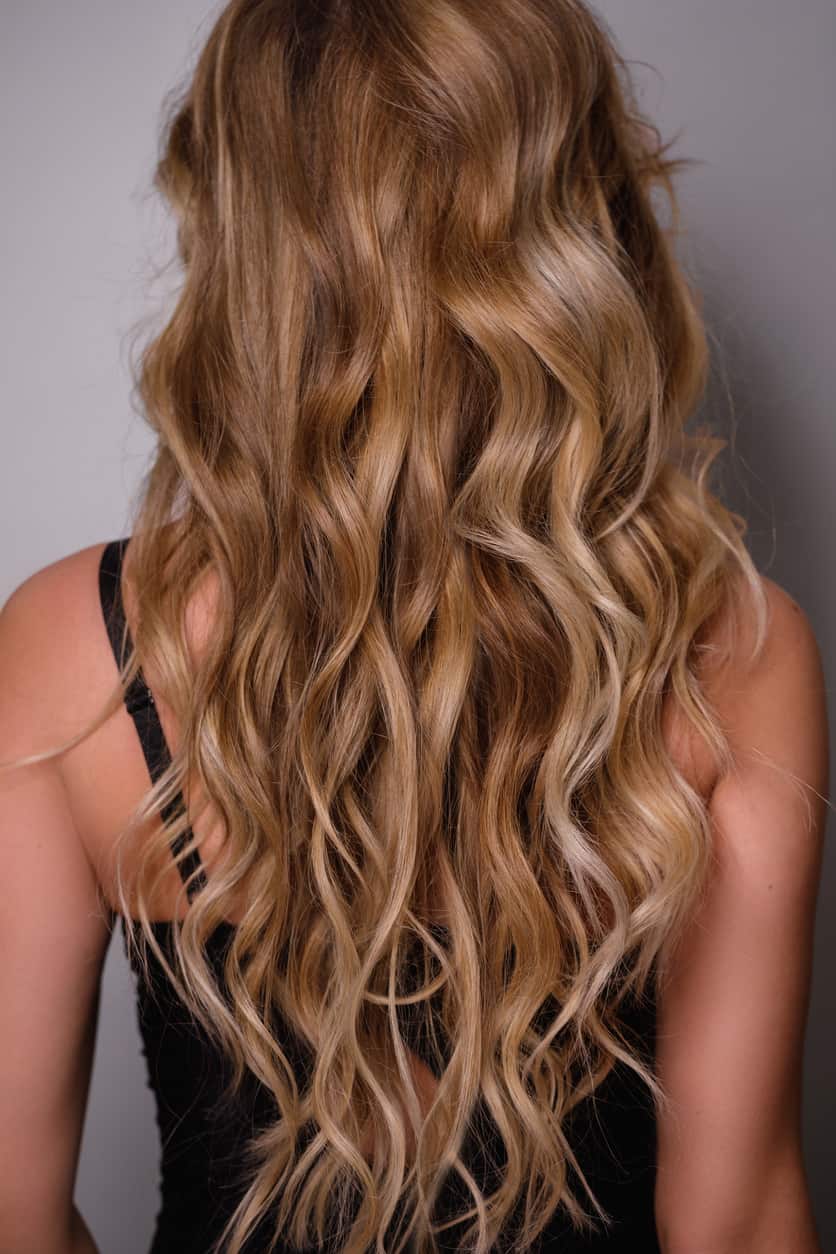
Curling Hair for Easy Beach Waves
Beach waves are also achievable with your hair straightener. Here’s how to do it:
- Make sure you’re working with clean, dry hair. Add heat protector while you’re going over your hair with your straightener.
- Clip the top of your hair if you have short hair. If your hair is longer, you may have to do three sections. It’s usually easiest to work up from the bottom.
- Take a one-inch section of hair and bend it away from your face using your iron.
- Curl 3/4 of your hair without reaching the ends.
- Take another section and curl it in the opposite direction from the last section. This will offer additional volume and movement.
- Keep going using one-inch sections until your whole hair is curled using this technique!
Concluding on Flat Iron Curls
Flat iron curls are a lot of fun to create. While you might be tempted to buy a curling iron, you don’t need one!
If you’re looking for a long-term relationship with a high-quality flat iron, look no further than our selection of Malina straighteners. We have something for everyone, and the options are endless when you style with Beauty from the Heart of Brazil!